


I really enjoy the challenge of designing a structure, drawing the elevations to scale and using balsa and match sticks to bring the design to life. Then the details! This scene still needs weathering on the building, fuel tank and tractor unit.
Extending a model railway especially when you are trying to keep the overall footprint to a mimium requires careful planning and thought. This swing up flap enables me to roll out the model railway, swing up the flap and enjoy extra functionality in the operation of the railway. The closed down flap footprint only adds approximately 12mm to the width of the layout.


It’s interesting to see what you can scratch build using basic materials and a scale rule. The timber stacking shelves and swings was made using match sticks and balsa sheet. I also used fine paper clips for the metal parts of the swings. I am very happy with the timber stacks but feel I could improve the swings.


Creating a great looking scene is both fun and challenging, it takes lots of little touches which tell a little story of what is actually happening as the photo was taken so to speak. Trying to visual the scene in advance is really important, what is the little story that is going on in this scene, a discussion about where a box is going to be placed or someone watching another person working. Have a look at a similar scene in real life, examine all the little details that go make it a real scene. Composing a scale scene to be as real looking, requires trying to get as many of the details into your scene as you can.

Adding layout details was an exciting but scary thing to do, especially the first time I did things. Like the first attempt at static grass, making a rock overhang, tunnel entrances or the road way. I really didn’t want to end up with a layout that looked awful and I didn’t expect professional results. However, I am very happy with the results that have been achieved, far higher that I had expected.

When planning out were I was going to put things around the layout, I used coloured paper scaled to the chosen kit footprint of the building. I used blue tac to hold in position, where I just looked at the layout proposal over the next week or so and adjusted positions as I visualised the full model. I did sometimes also cut a piece of foam and place over the piece of paper to give me a 3D look if I wasn’t sure of how it might look.

This lumber yard was my first attempt at a scratch built building. I firstly cut lengths of pine to scaled timbers. I drew a scaled portal frame and made 6 frames. I decided to glue these to a plywood base for ease of positioning later which was a good move. Then I glued the roof rafters and floor in position and carefully laid the strips for the roof. (I left one side of the roof open to allow the saw mill to be seen). I then placed the two LEDs into positioned and hid the wires. Weathering of the timber work was then completed. At this stage I began to install details inside the building- mill, logs, timber stacks and strips.

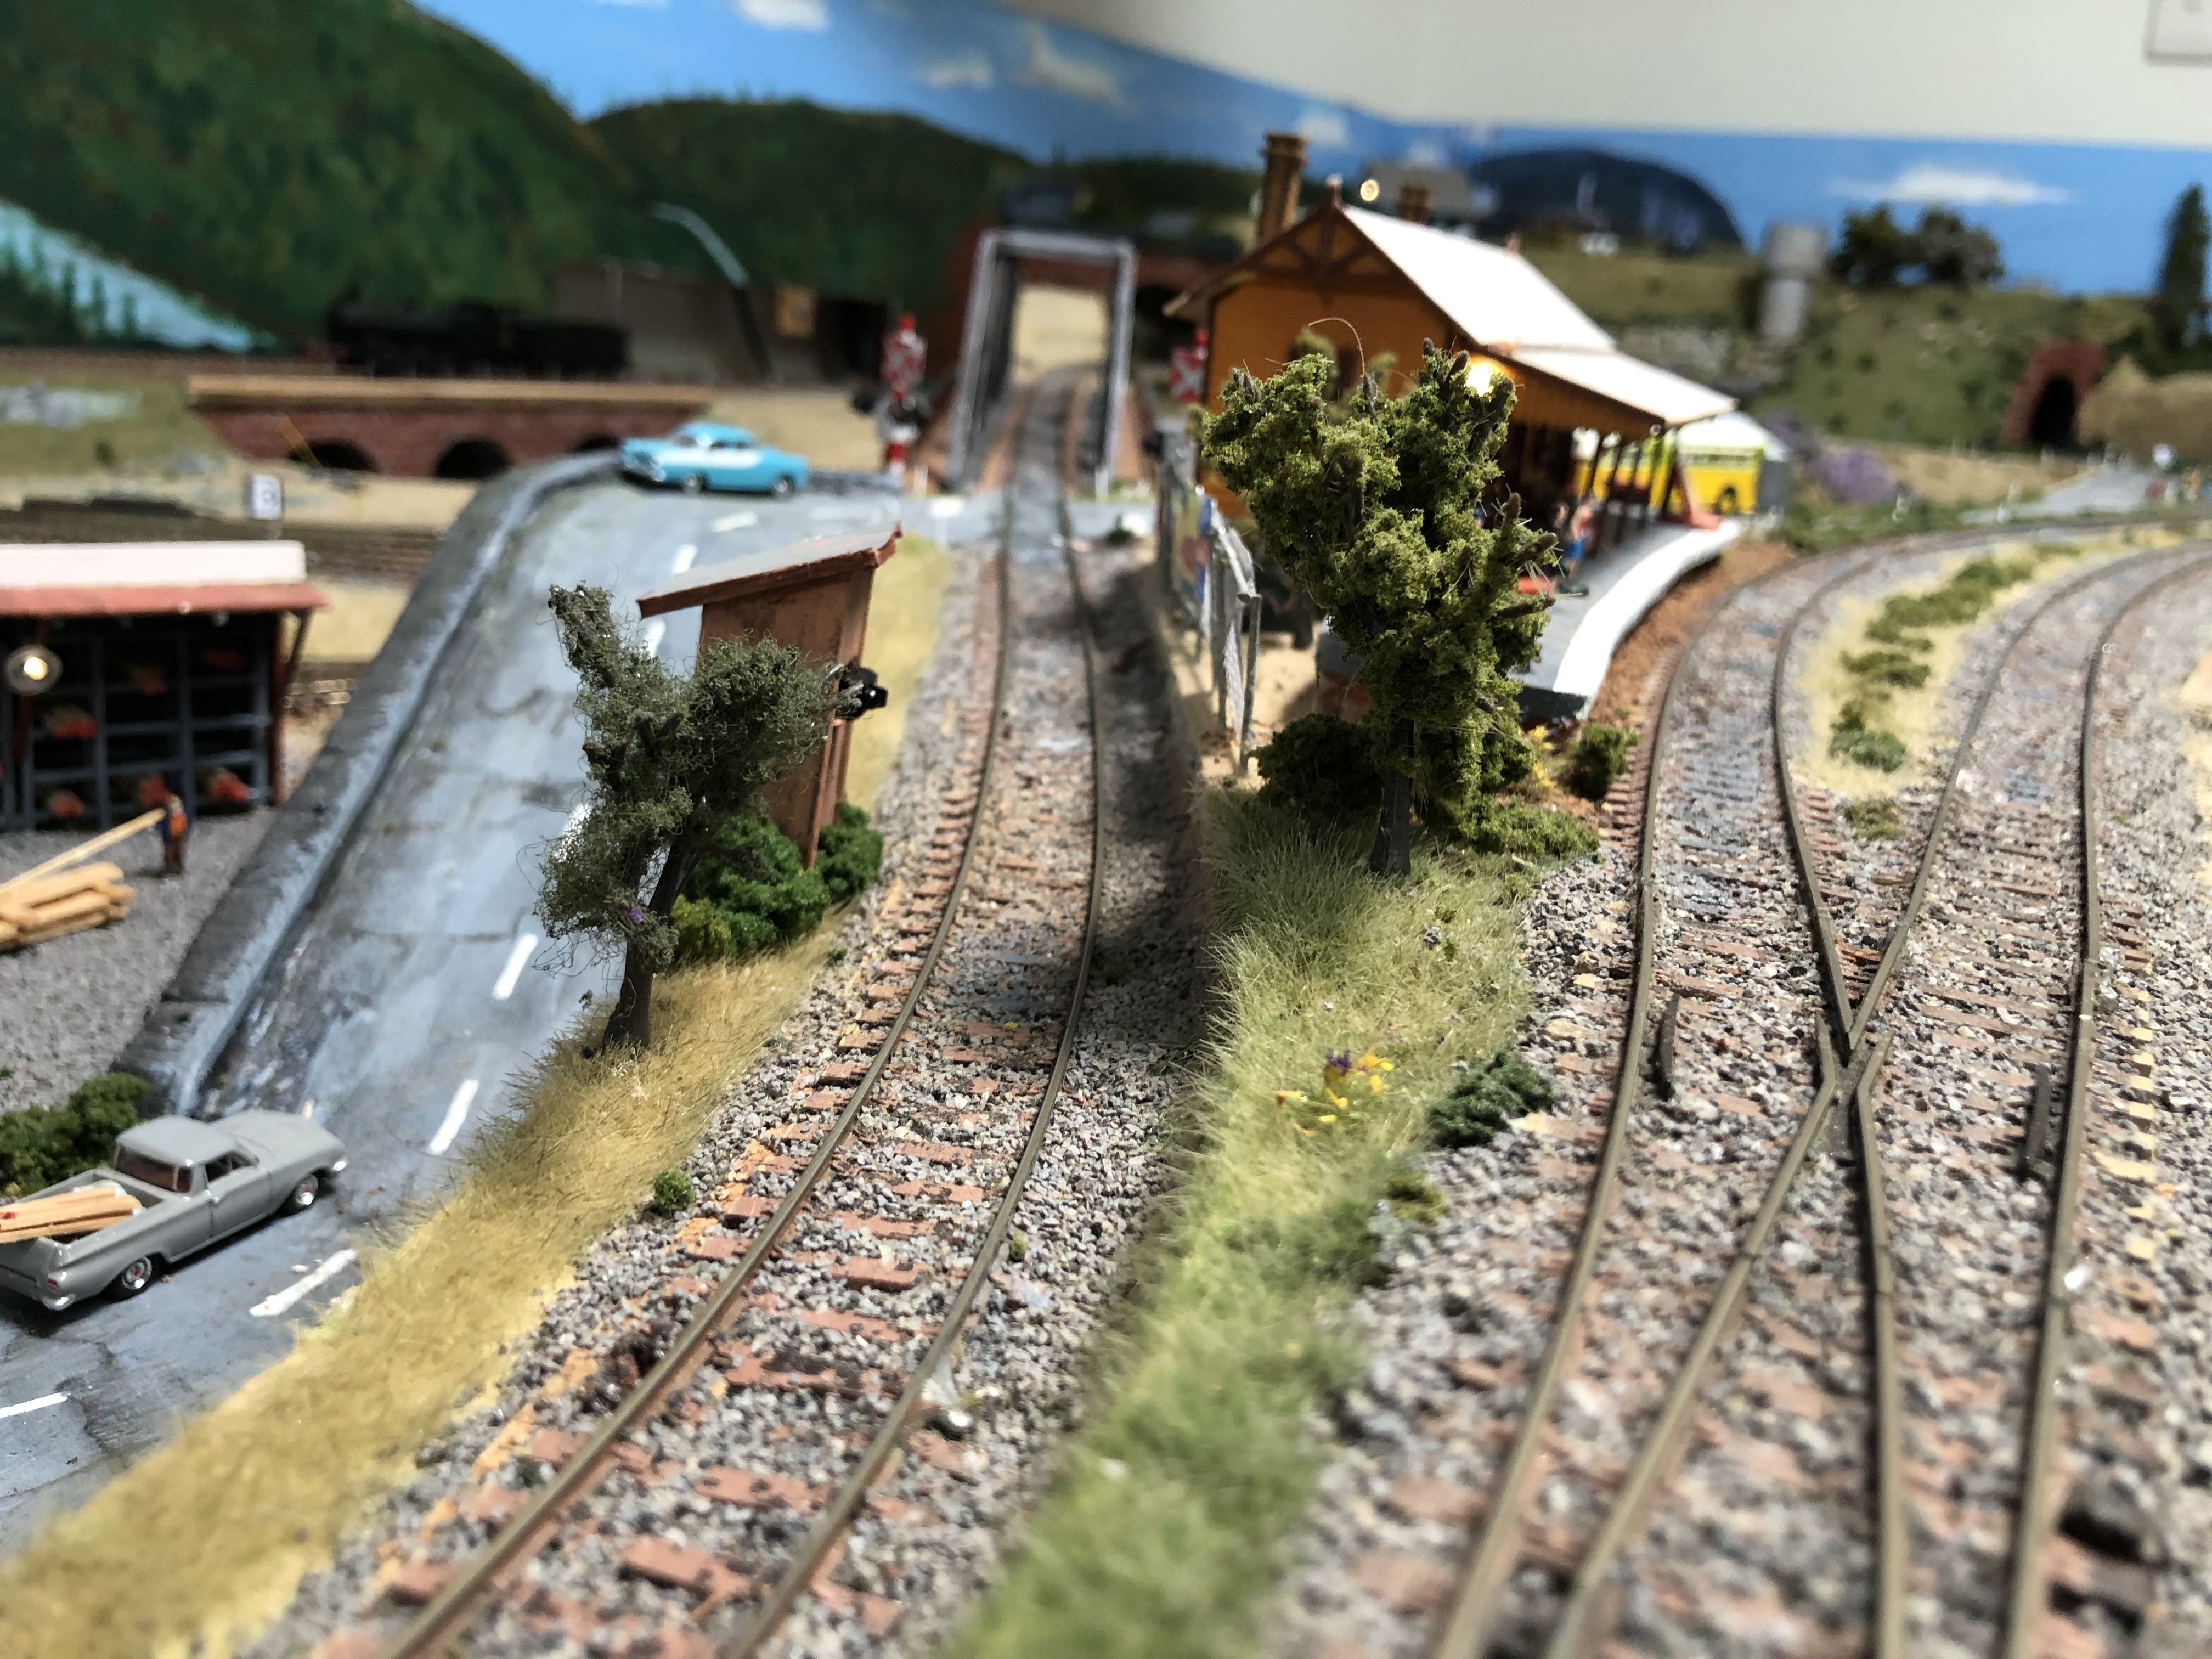
Now to start on modeling some building. I have mostly been using kits from model train buildings in Australia. https://modeltrainbuildings.com.au/ I have found these kits easy to construct and look great, best of all they are iconic building from Australia. This kit I used on my layout at Pine Tree Station is actually from Wacol Station. I have used 3.5mm plywood for the platform which still needs to be completed in this photo.

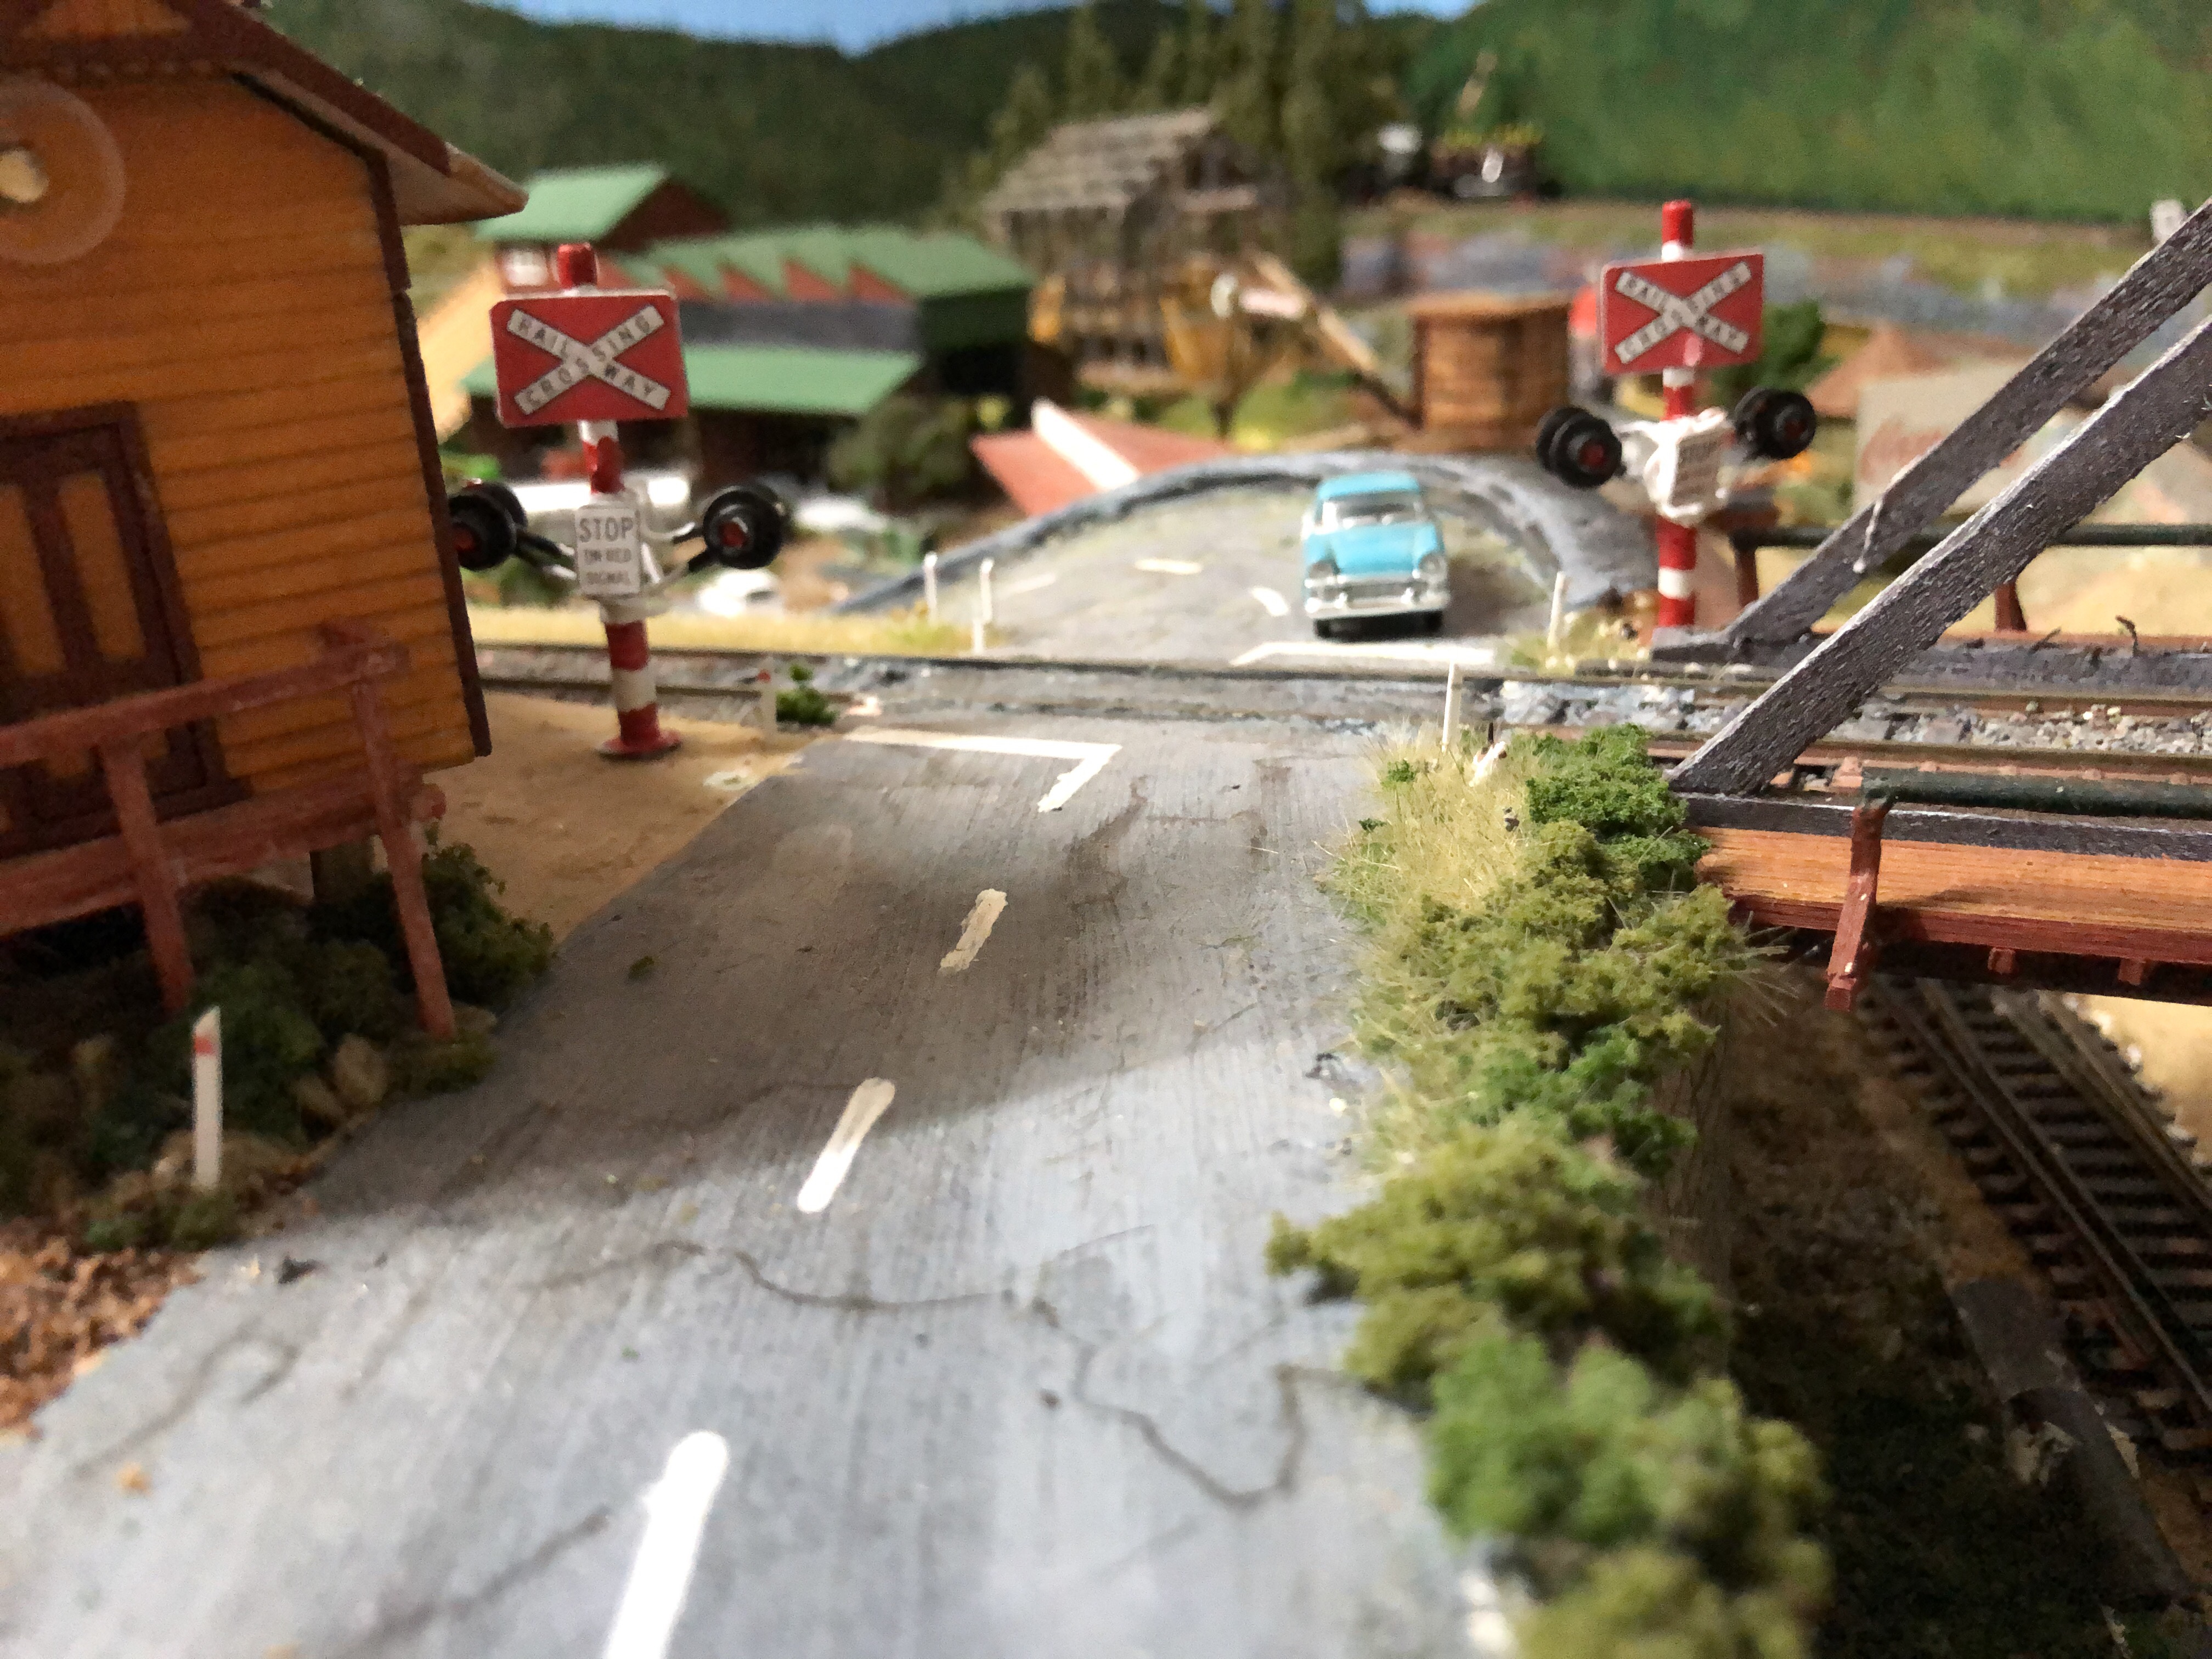
Taking a looping track that represents a linear track plan with stations at opposite ends requires careful planning. When it came time to introduce the roadways my new roads also needed to model this same concept. I used woodland scenics paving tape to act as boxing while I poured the plaster and used the paving tape to screed the plaster to form the road. Then peal off the tape when the plaster is set. Provided you get everything ready in advance ( smoothing, correct spacing and parallel tape, the end result looks really good especially after you give the road surface a light sand with a fine sanding block to make the road surface uniform.


