Painting the harbour

It’s a windy day at this harbour today

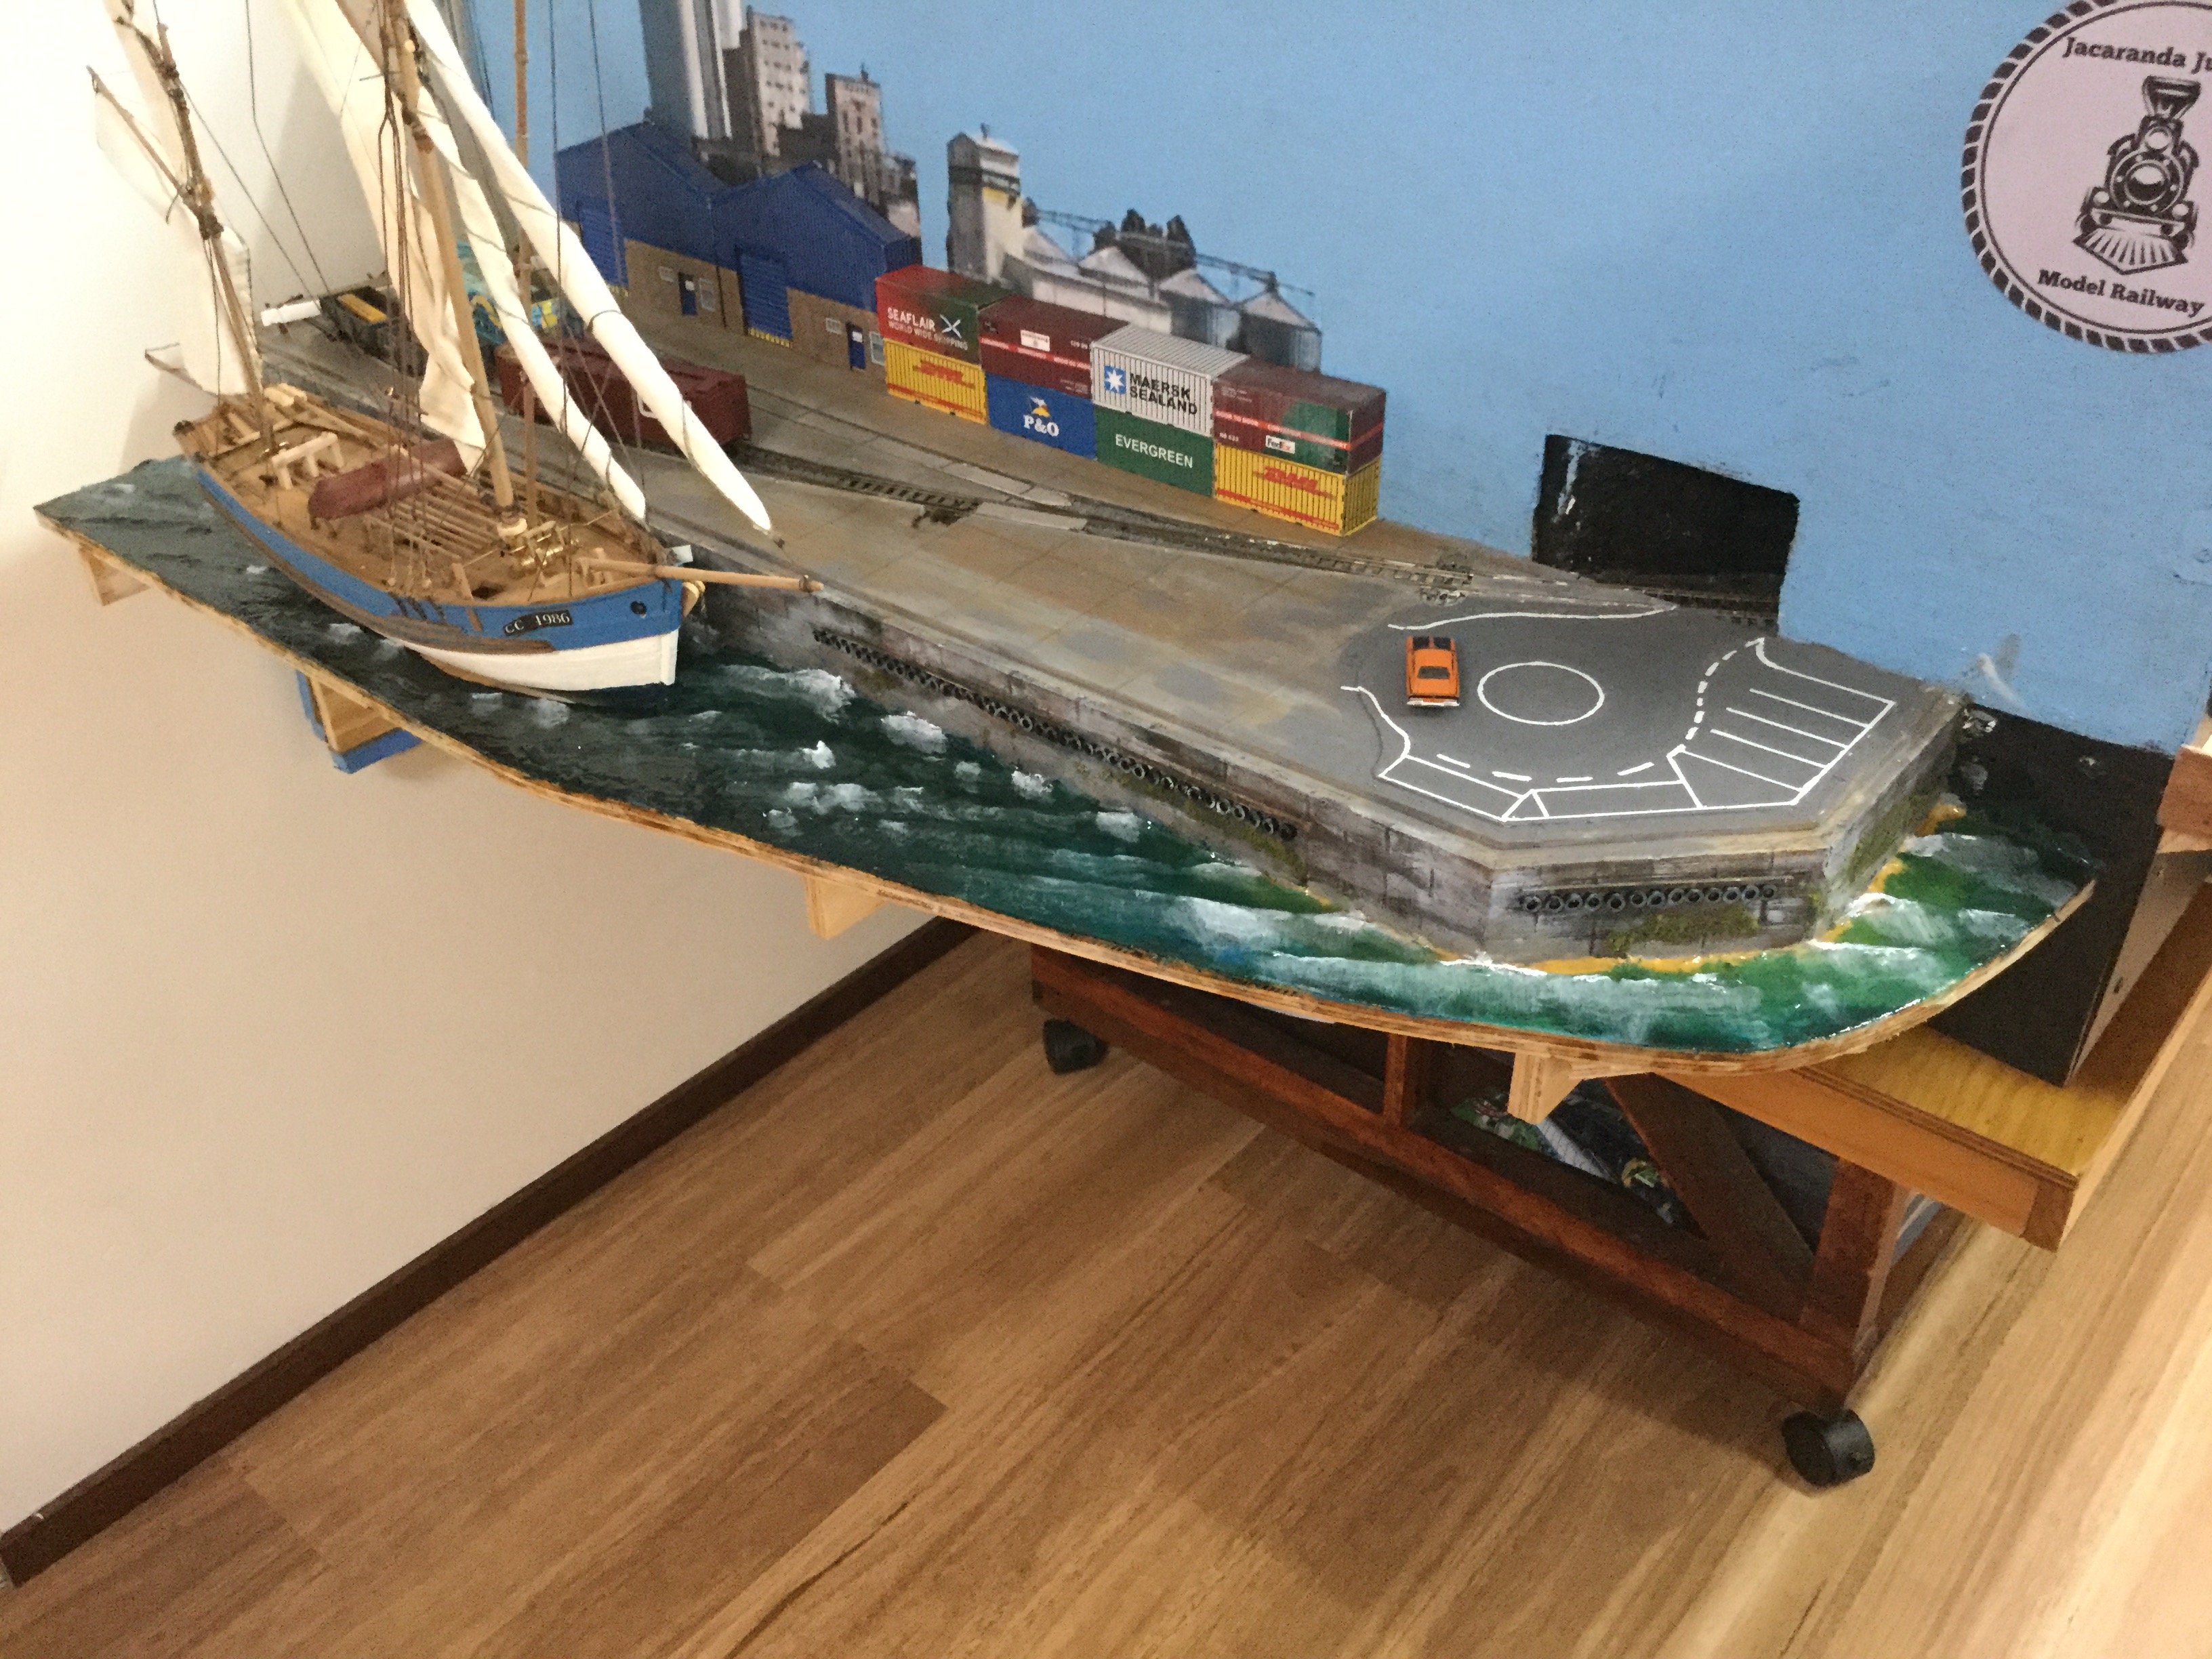
Wow what a difference adding paint and varnish makes to the harbour scene. It gives a more realistic appearance. I used techniques shown in a harbour video tutorial found in the link below. Lots of great videos here.

https://www.youtube.com/user/marklinofsweden.

PVA and toilet paper make great looking waves
Now for some shaded painting with careful selection of colours
Now to add the wave foam

Railway level crossing – DIY

Finished Level Crossing, looks and operates very nicely (should have made the vertical pole smaller in diameter)
Firstly worked out positioning of LED’s soldered shorter legs together (Check arduino sketch for either + or -)
Using a breadboard, sensors and LED’s organized ArduinoCode
Construct brass pole, note filed notch for wire access
Wires brought out and top piece notched for wire access

I used old cat 5 cable wire for fine wires
I used large pop rivets cut off and drilled out for covers around lights
I soldered the LED wire that was joined to the brass pipe and passed the other 2 wires through pipe to solder the Other LED leg
Short leg soldered to brass pipe. Note white heat shrink to protect other LED leg touching brass pipe.
Wires soldered and excess pushed back into brass pipe
Top brass section carefully soldered into position
Pop rivets painted black and glued in position. Everything painted
Nice little shed to hid optical sensor used to turn on crossing lights