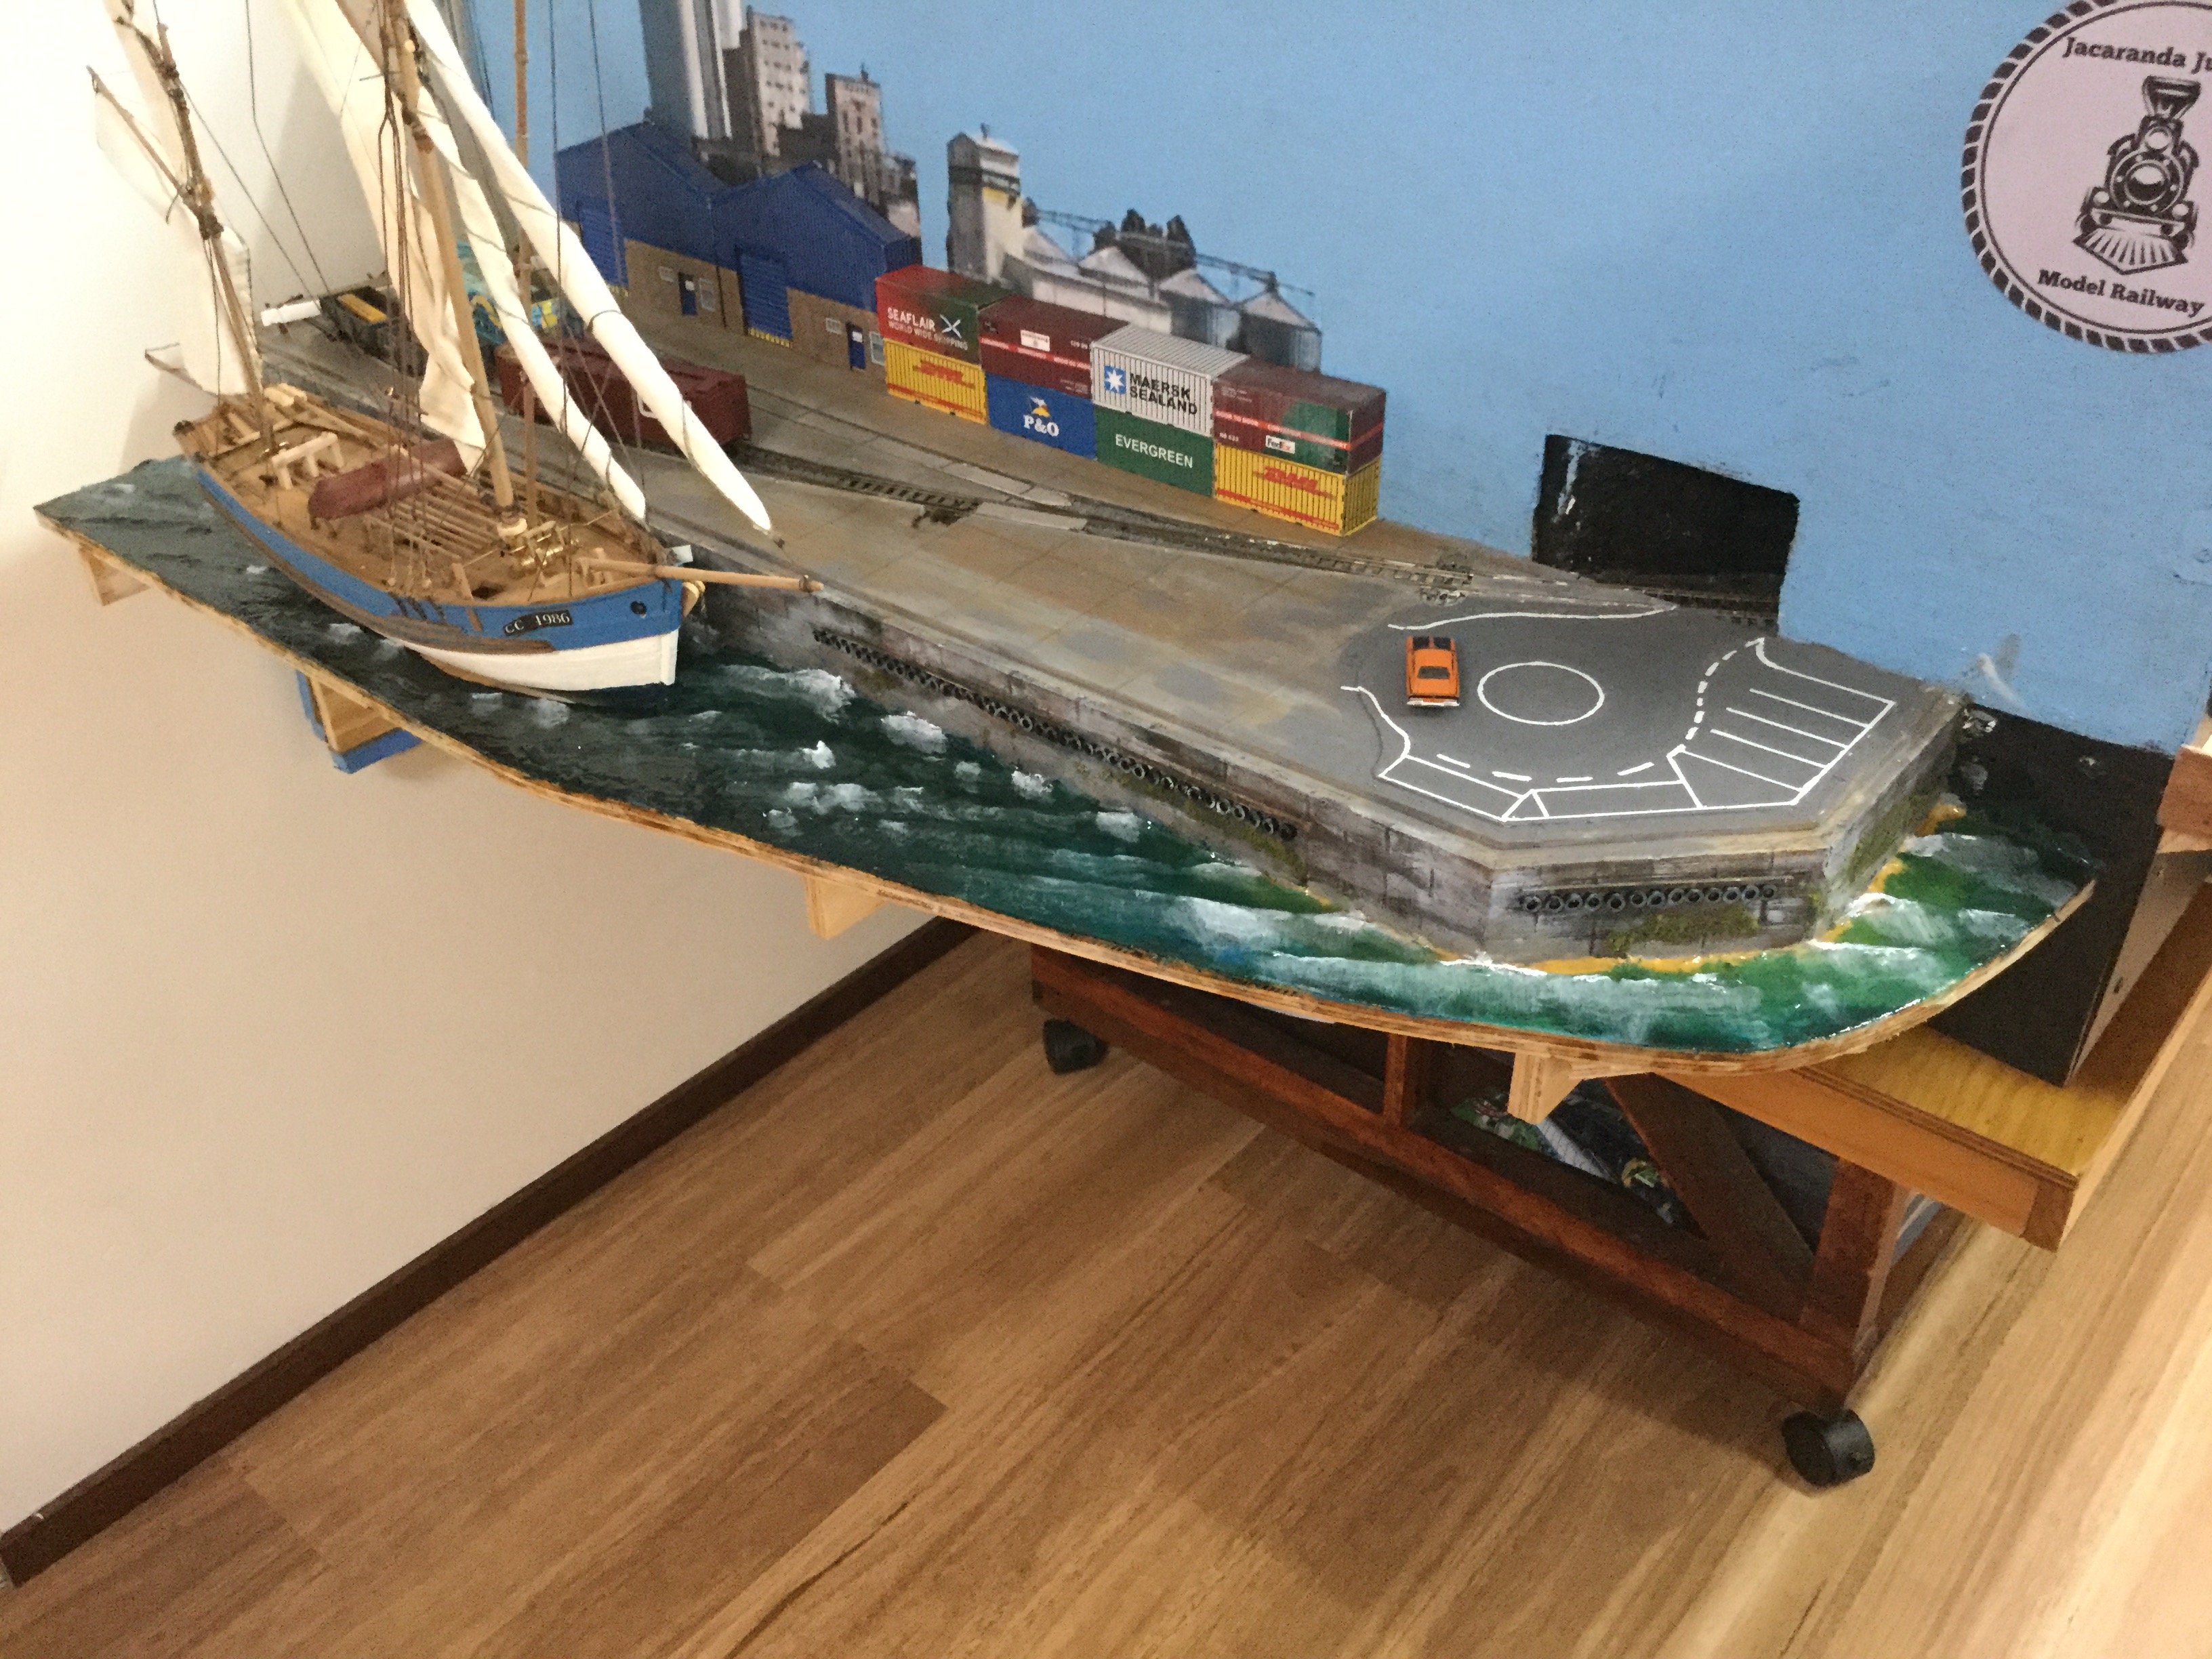
Wow what a difference adding paint and varnish makes to the harbour scene. It gives a more realistic appearance. I used techniques shown in a harbour video tutorial found in the link below. Lots of great videos here.
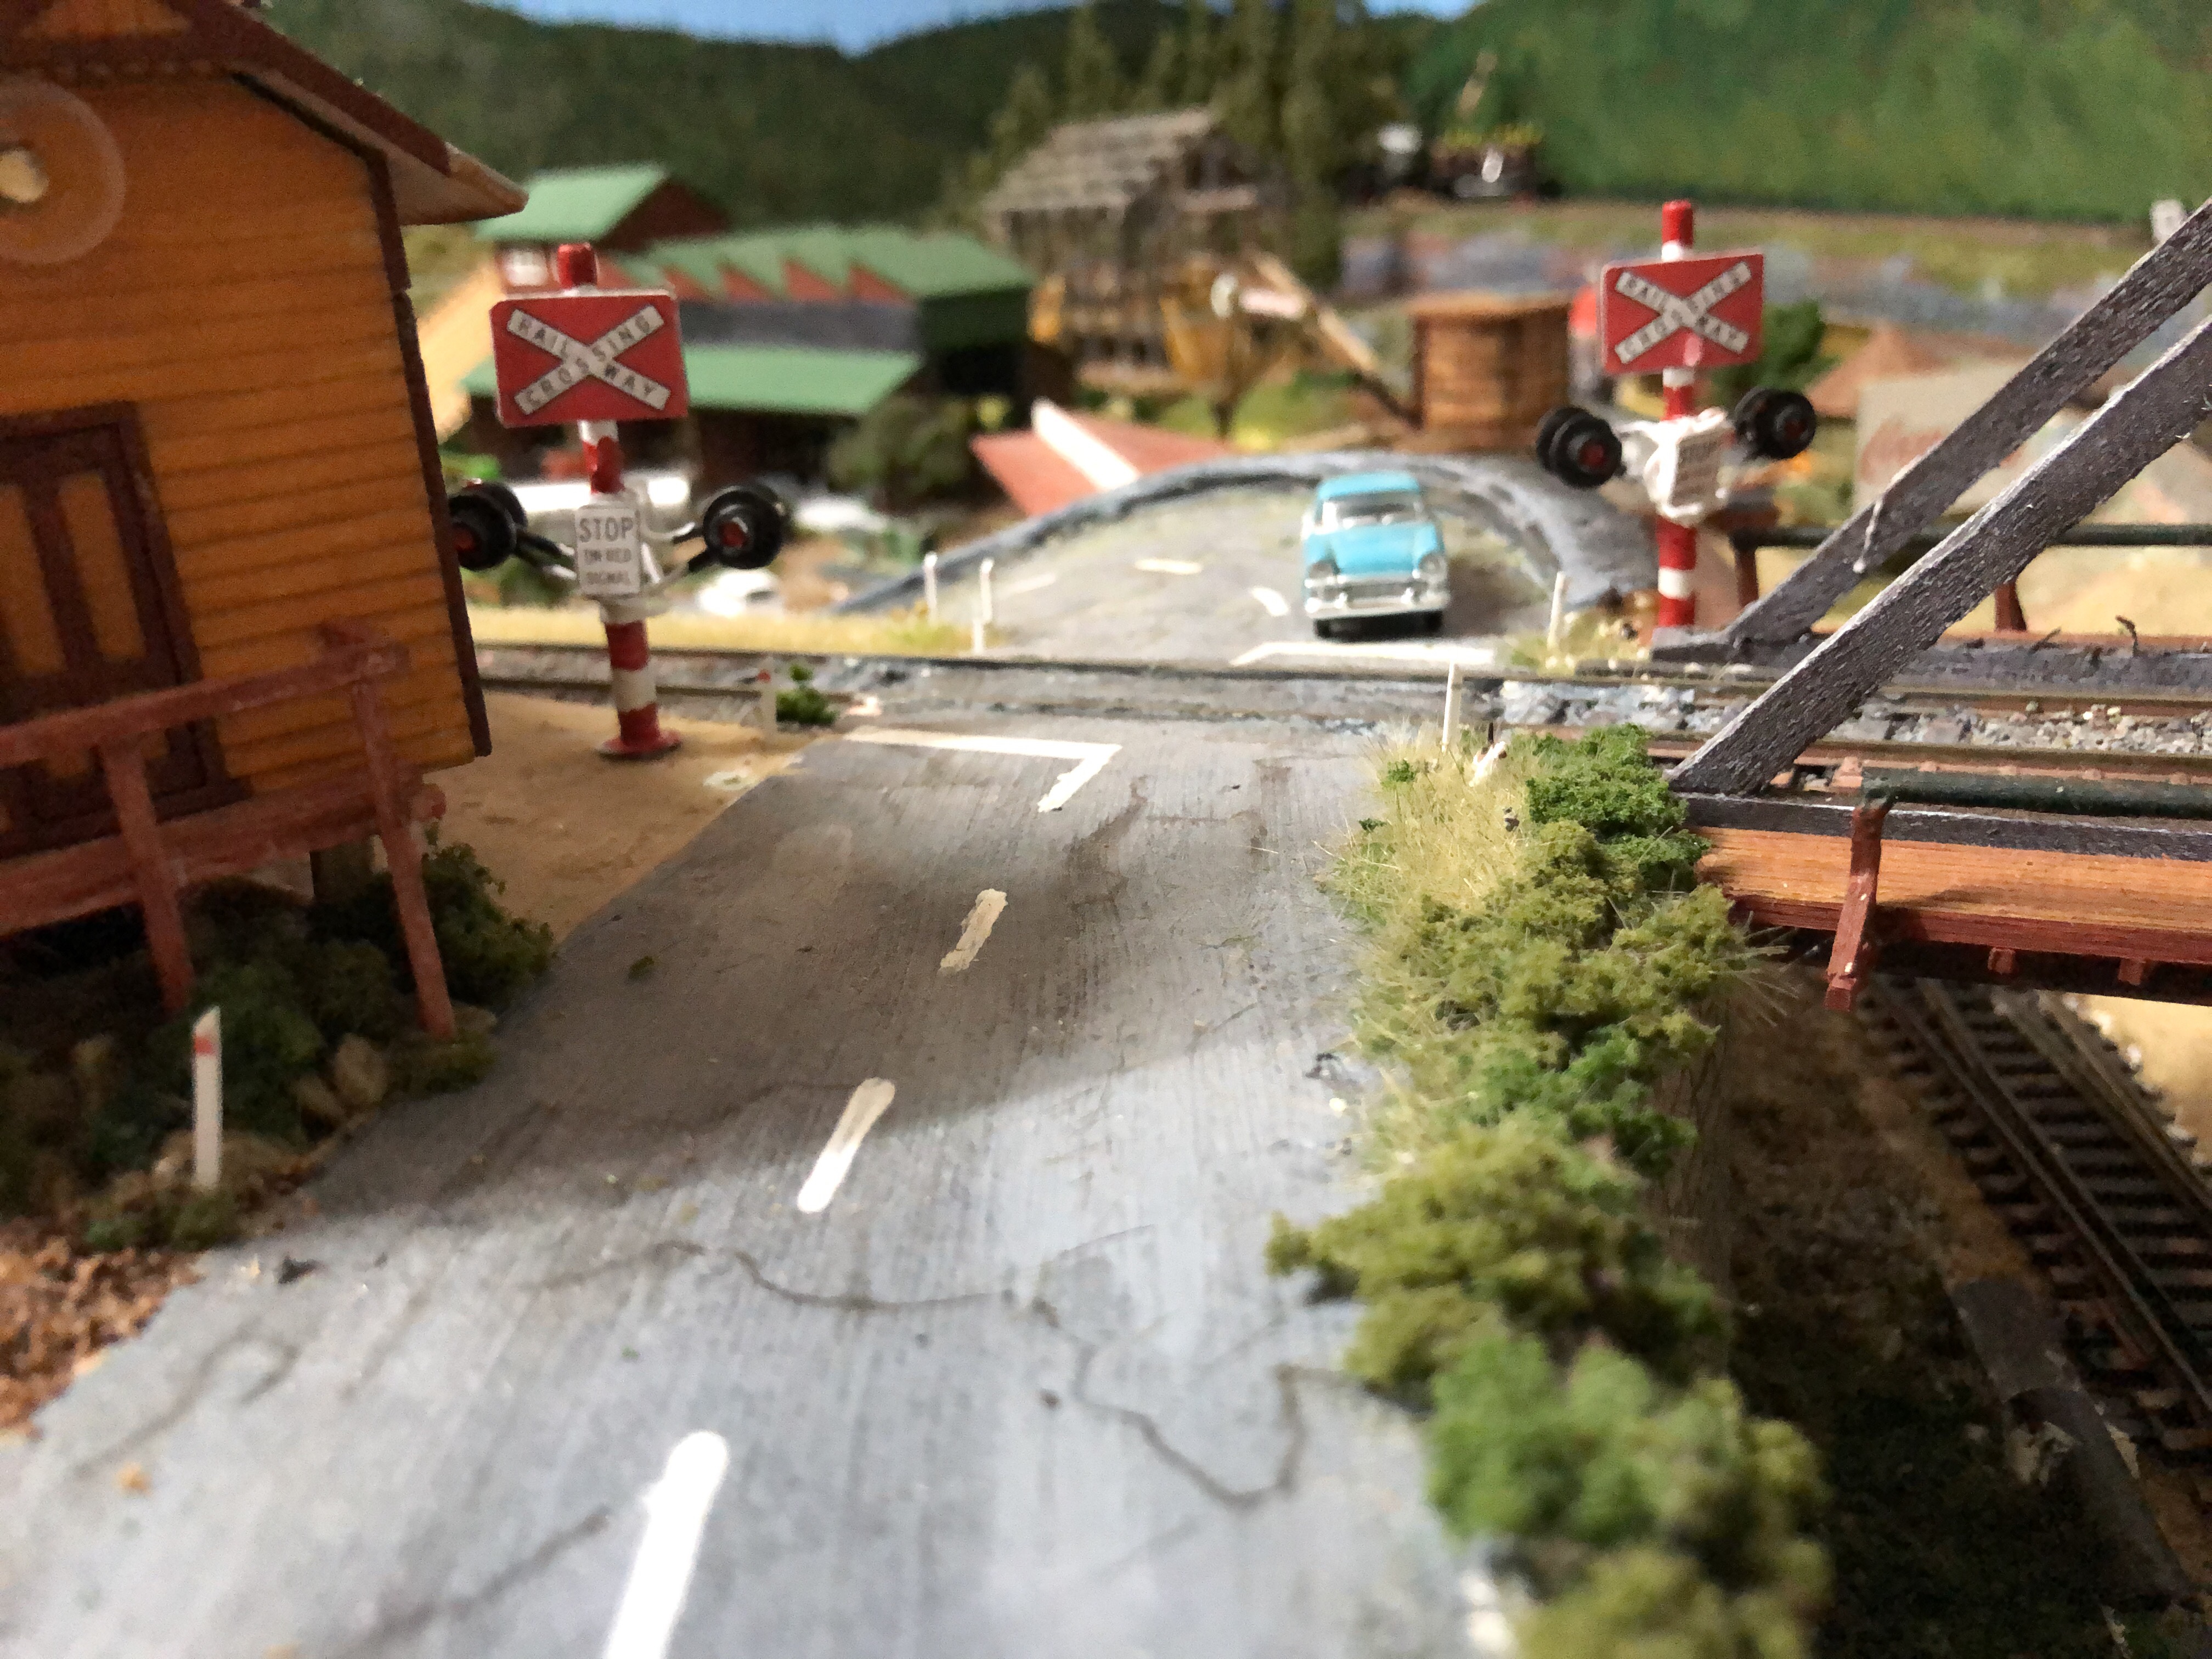
Finished Level Crossing, looks and operates very nicely (should have made the vertical pole smaller in diameter)Firstly worked out positioning of LED’s soldered shorter legs together (Check arduino sketch for either + or -)Using a breadboard, sensors and LED’s organized ArduinoCodeConstruct brass pole, note filed notch for wire accessWires brought out and top piece notched for wire access
I used old cat 5 cable wire for fine wiresI used large pop rivets cut off and drilled out for covers around lightsI soldered the LED wire that was joined to the brass pipe and passed the other 2 wires through pipe to solder the Other LED legShort leg soldered to brass pipe. Note white heat shrink to protect other LED leg touching brass pipe.Wires soldered and excess pushed back into brass pipeTop brass section carefully soldered into positionPop rivets painted black and glued in position. Everything paintedNice little shed to hid optical sensor used to turn on crossing lights
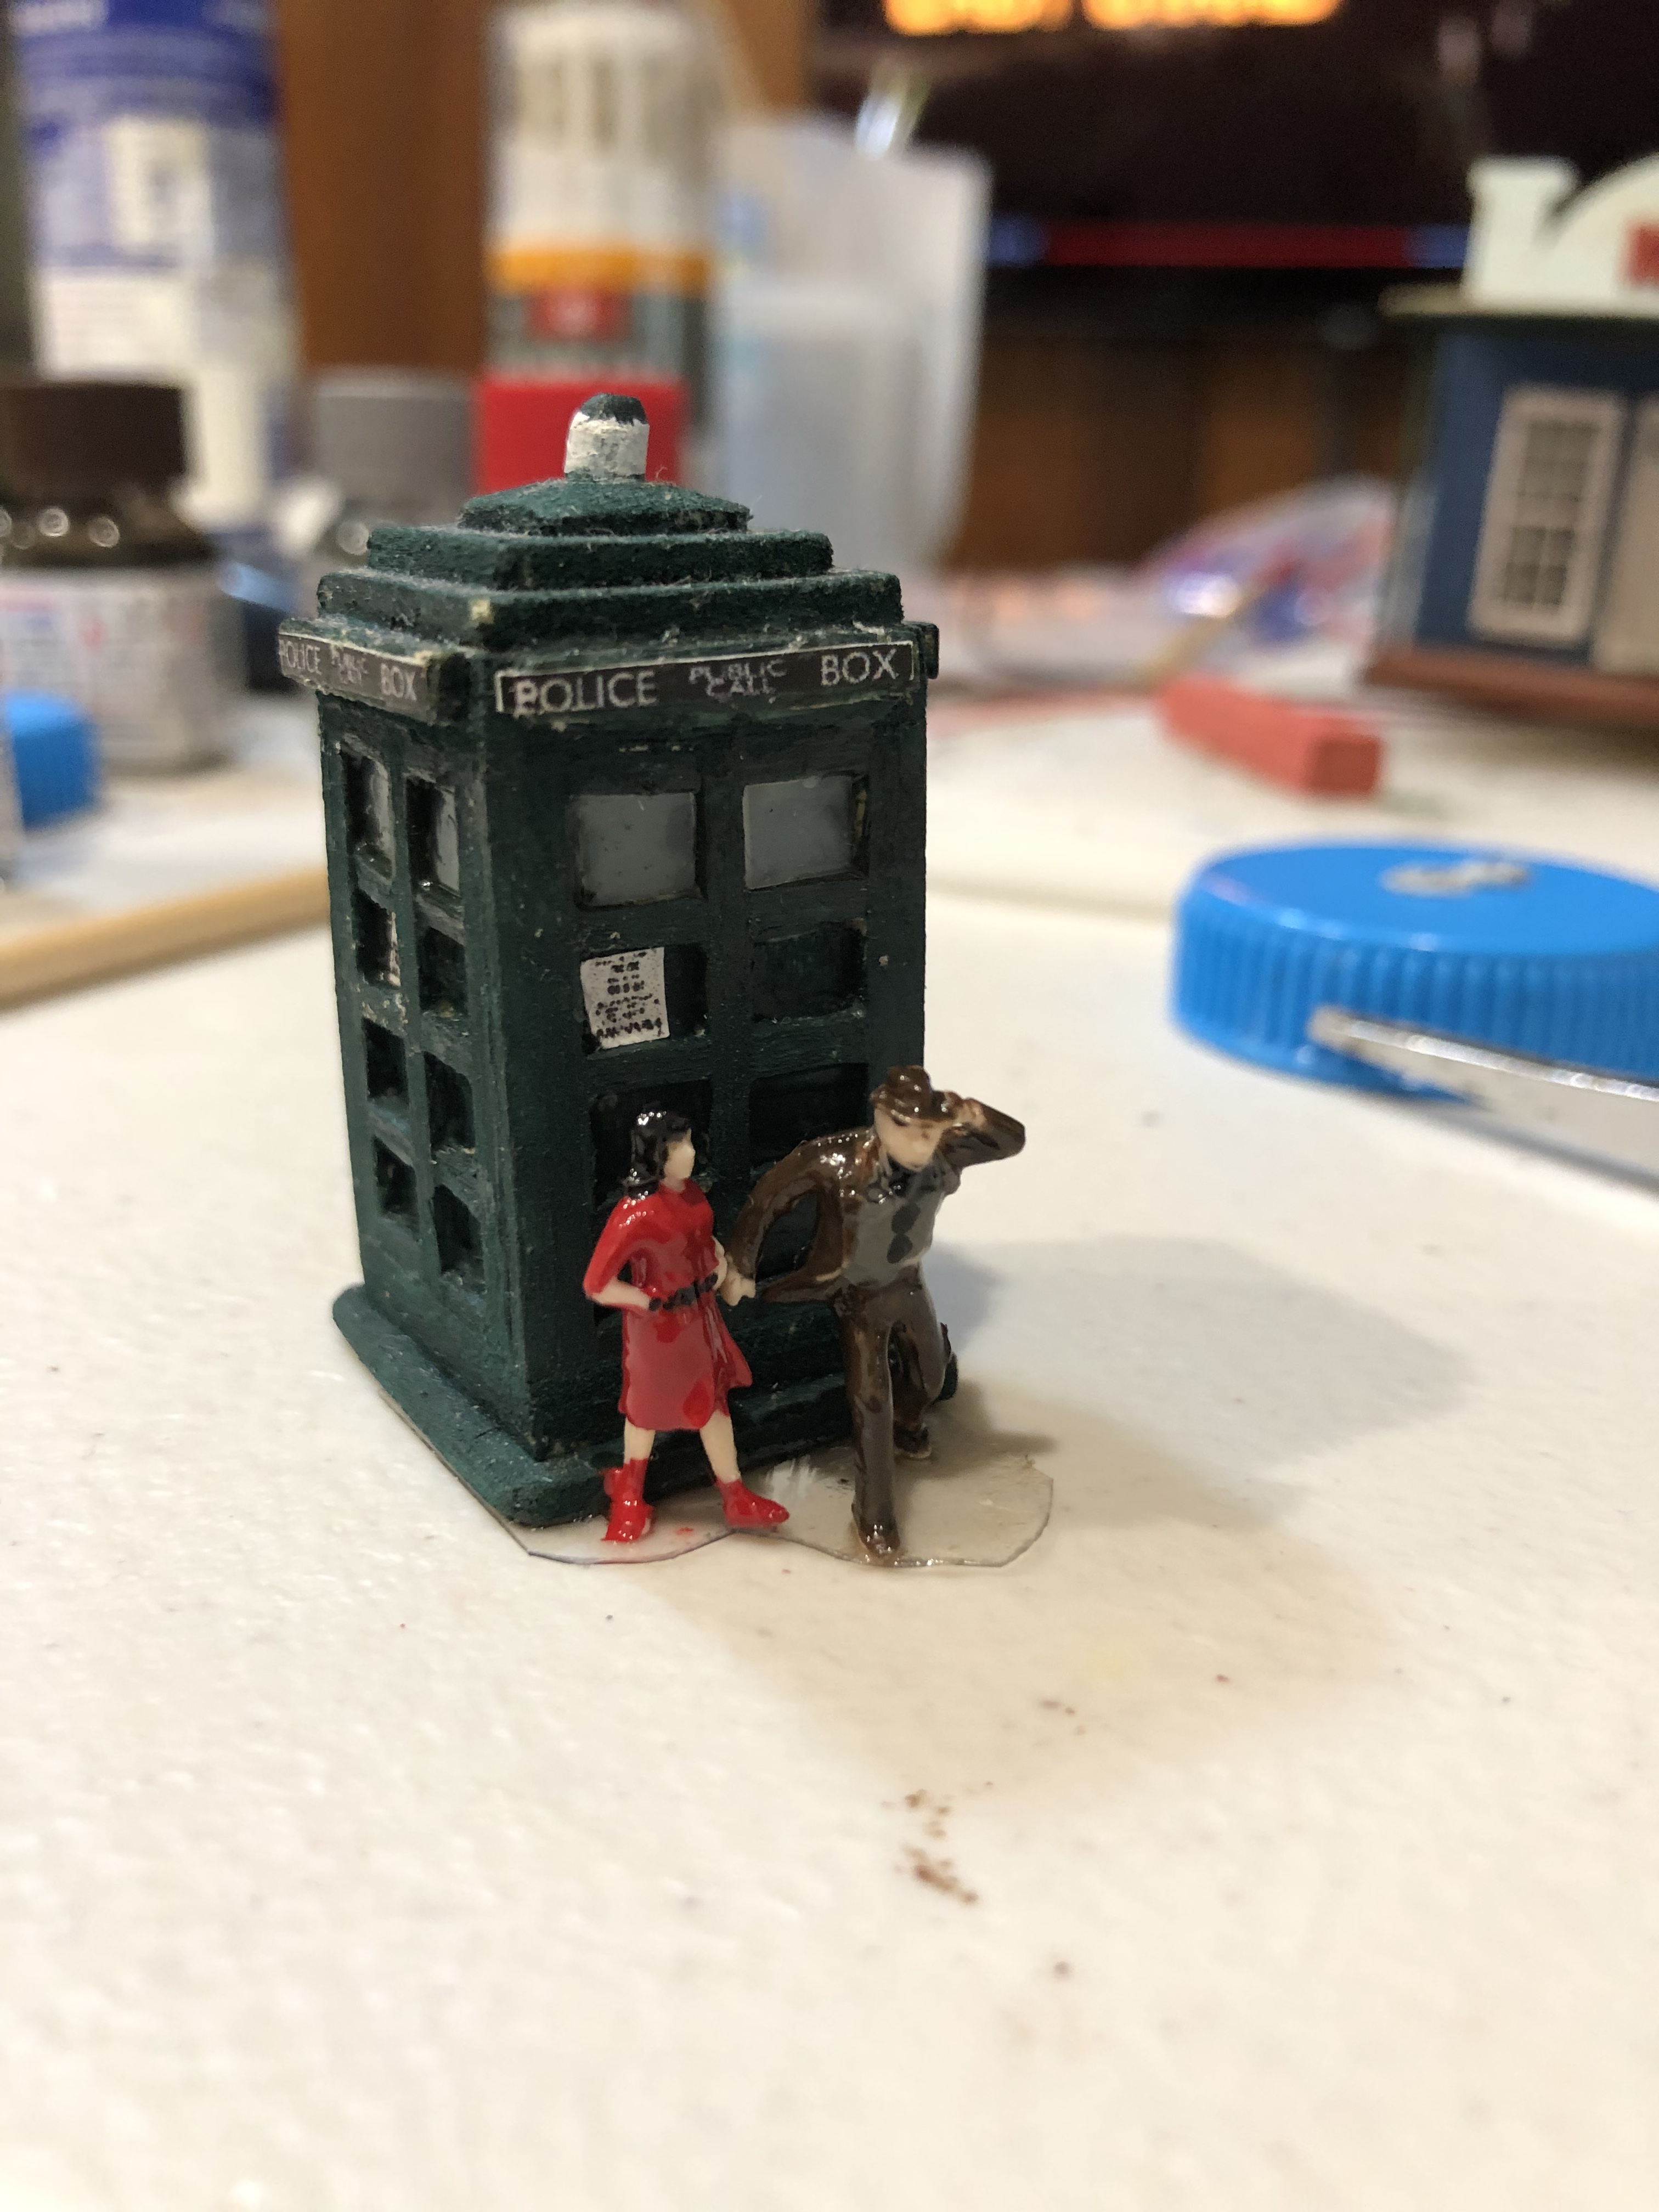
The Dr and Clara are glued to a small piece of clear plastic that is attached to the bottom of the Tardis, so the Tardis and figures can be shifted around the layout for people to find.
Derailments are sent to try us and boy oh boy, do they put your brain into a spin, trying to work out exactly what is causing the derailment. You can have 3 locos with 2 of them going over the track easily but the third loco derails. Go figure!
This derailment is on a new section of track that has been inserted with a new turnout . This new turnout is also in an awkward location which makes it hard to visualize the problem. The front section goes over the track but carriage derails.
I have been struggling to work out why the train derails, so I made these tools to assist me to narrow down what the trouble is. Turns out, there are a few different issues that need to be fixed.
Derailment tools I have found handy.
I have found these self made tools very helpful at checking the rail gaps. These are easily
made and assist you to check the track in a number of different way.
These tools are really home made gauges from styrene sheet. Inside,outside and rail gauges
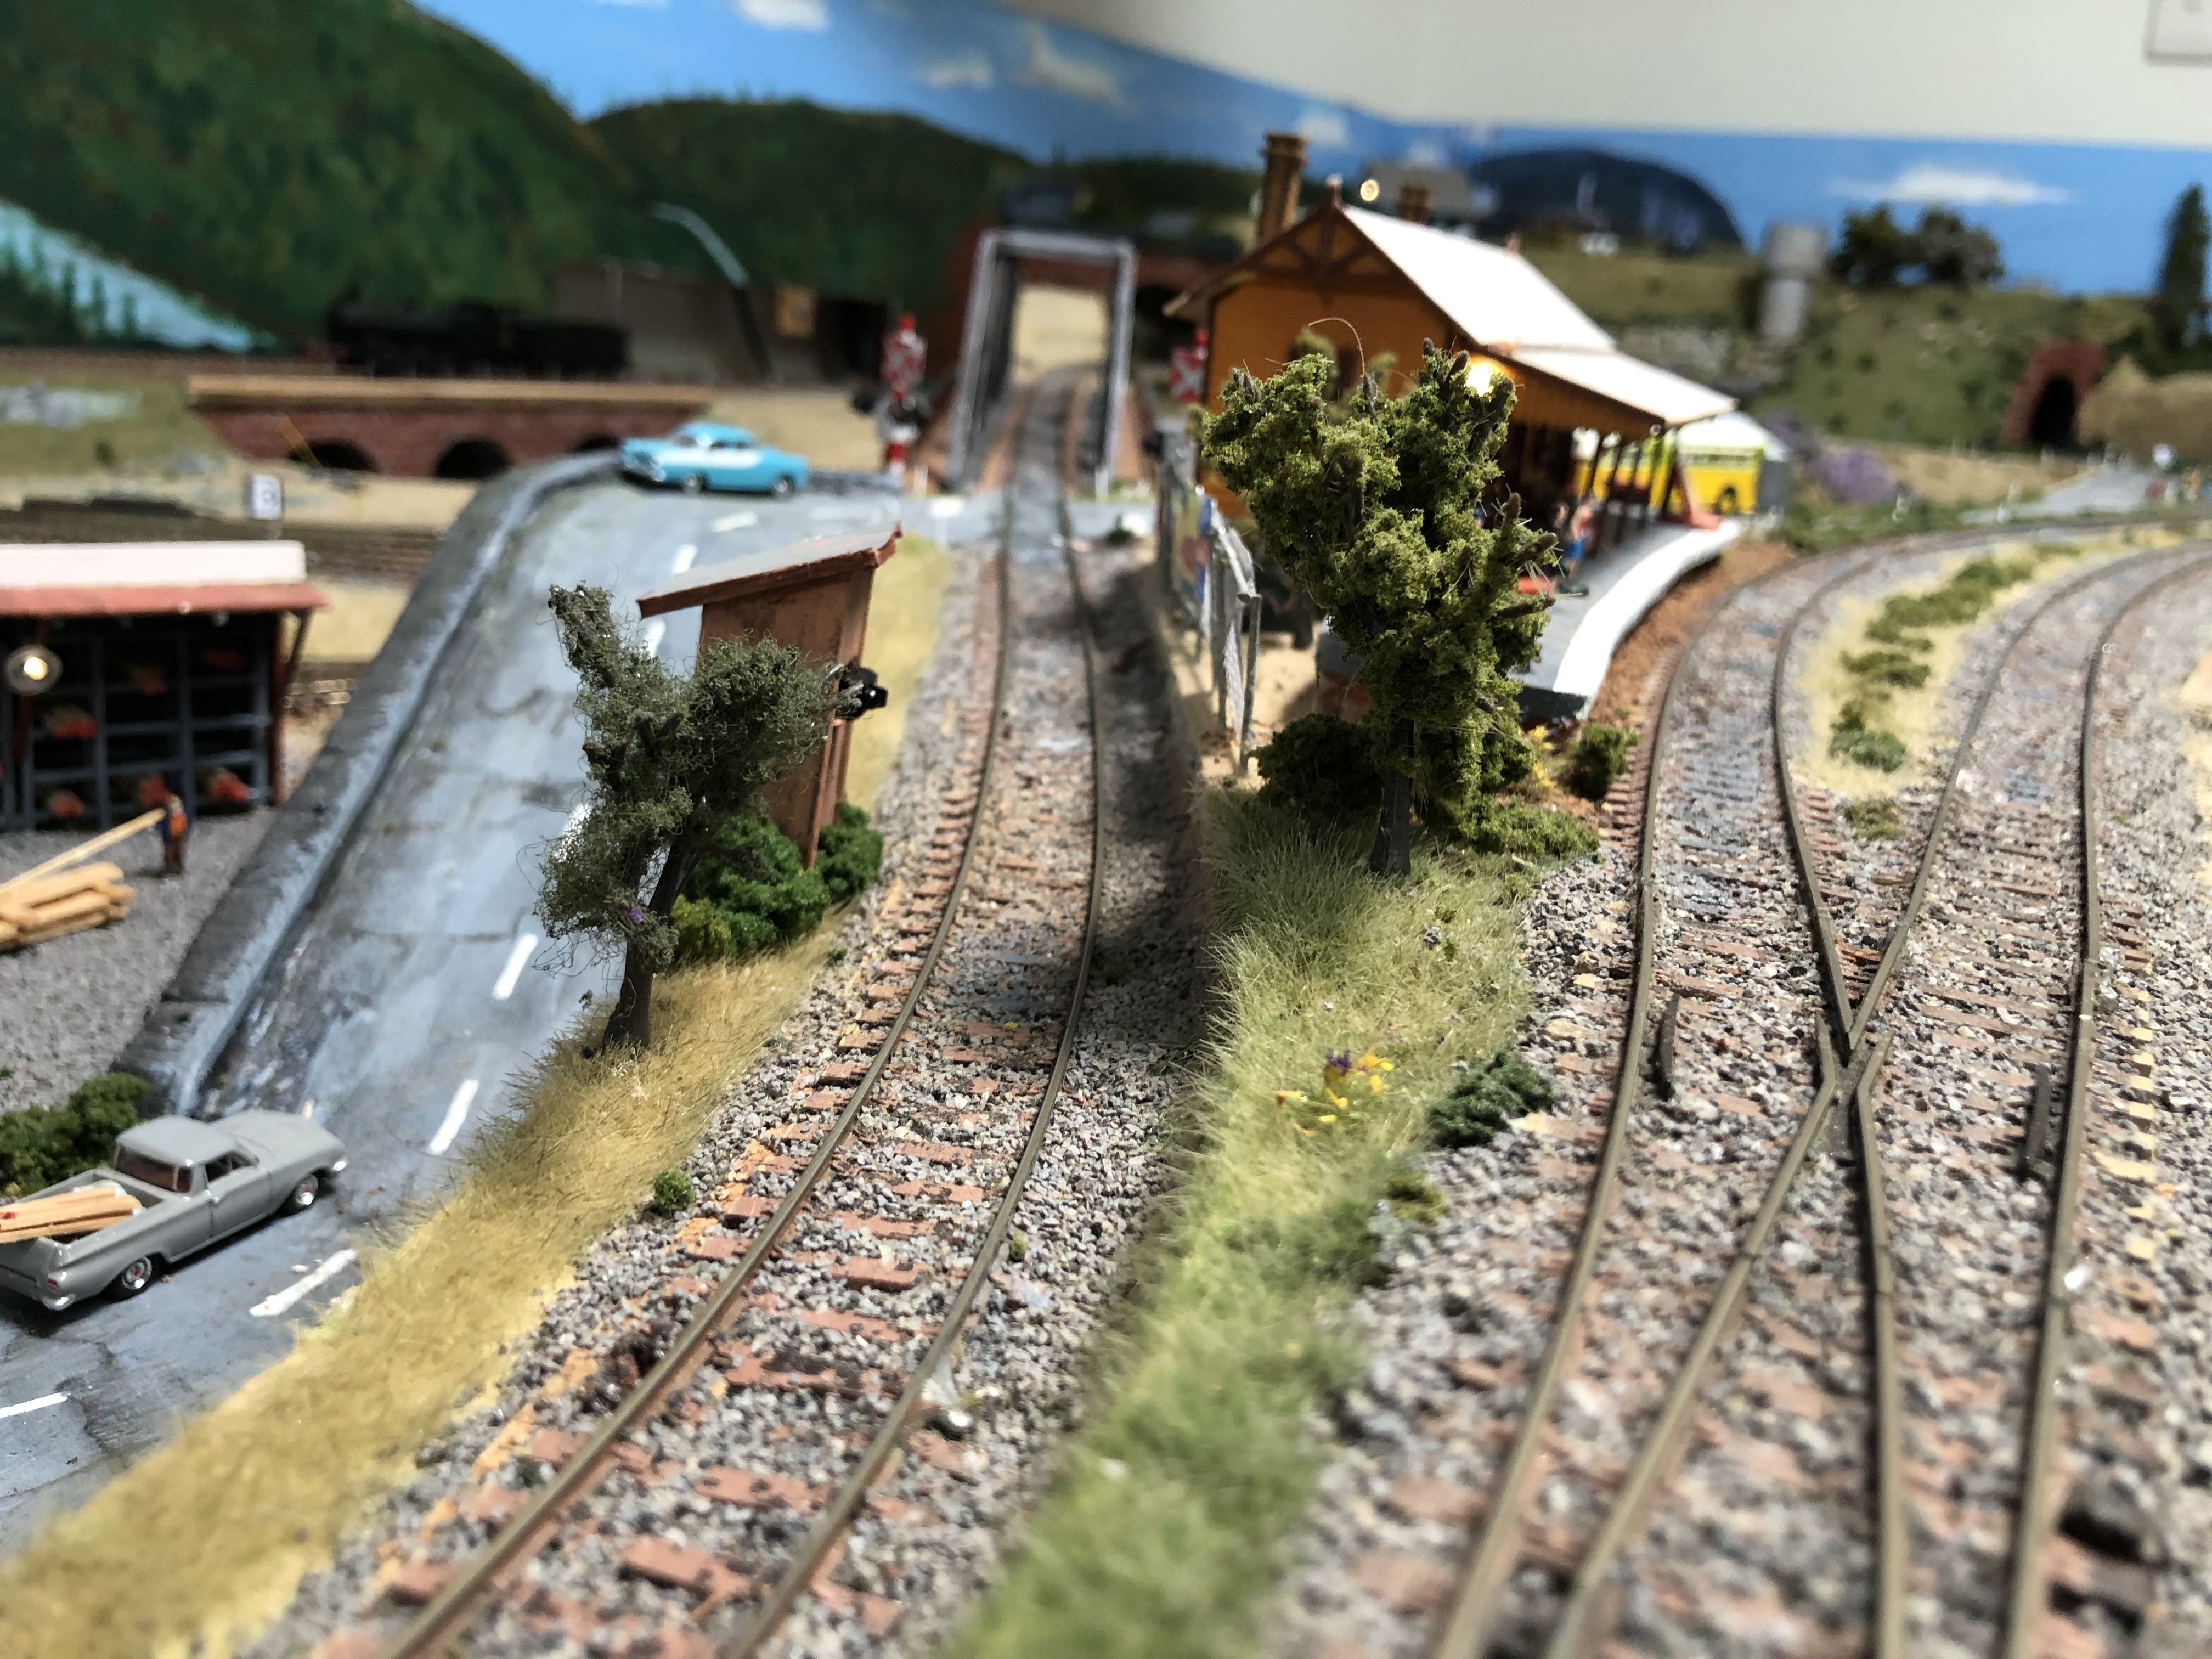
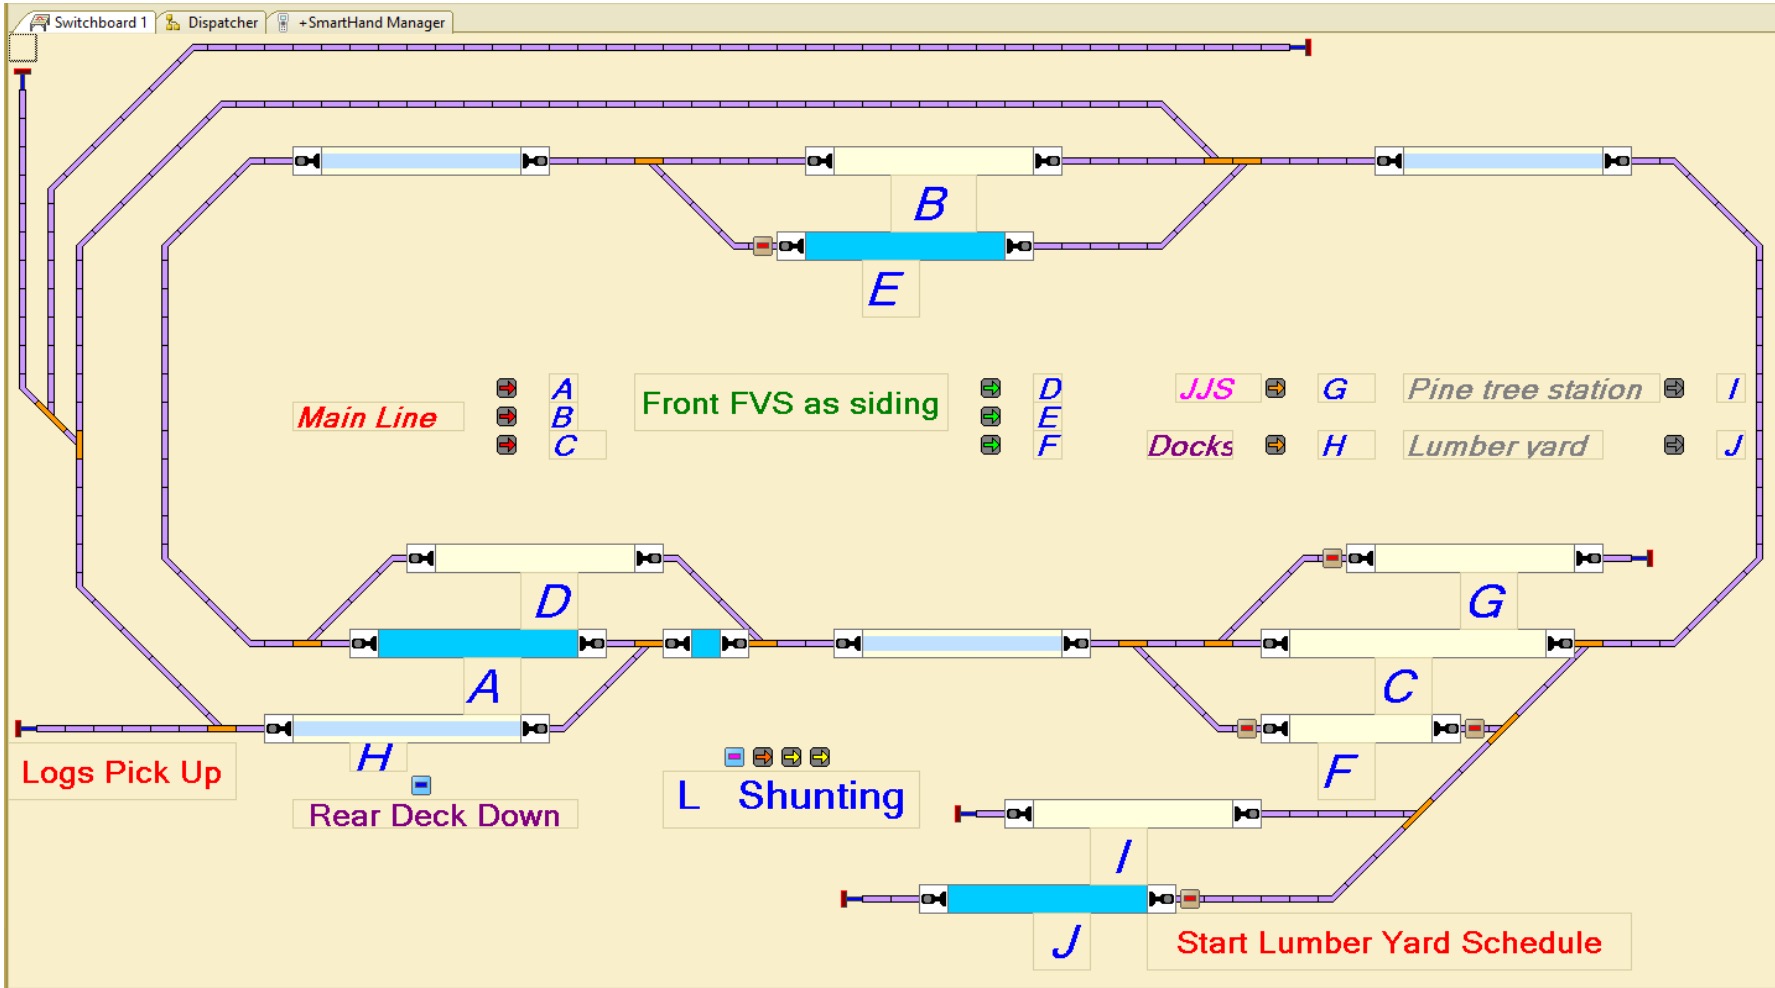
Setting up an effective manual control system so I can easily run 2 Locos automatically while driving one manually
Well this has taken a long time – to work out a system to have 2 Locos driven automatically by train controller while I drive one Loco manually. I have tried all sorts of systems with all sorts of control buttons everywhere. But I found all these forms to hard to undertake and easily use. So I have come to my current system which is proving far supieror to the other things I have tried. I have created a route which I can switch with a keyboard shortcut. The route has 3 sections, each has a current sensor, with the middle of the 3 sections being either the siding or main track where a train can pass. This means when a train enters section 3 after having gone through section 1 & 2. I can decide the path through the next passing area (luckily this worked out for me with how passing sidings were located) Generally as I have learned to operate with this method I have found it very successful and easy to use.
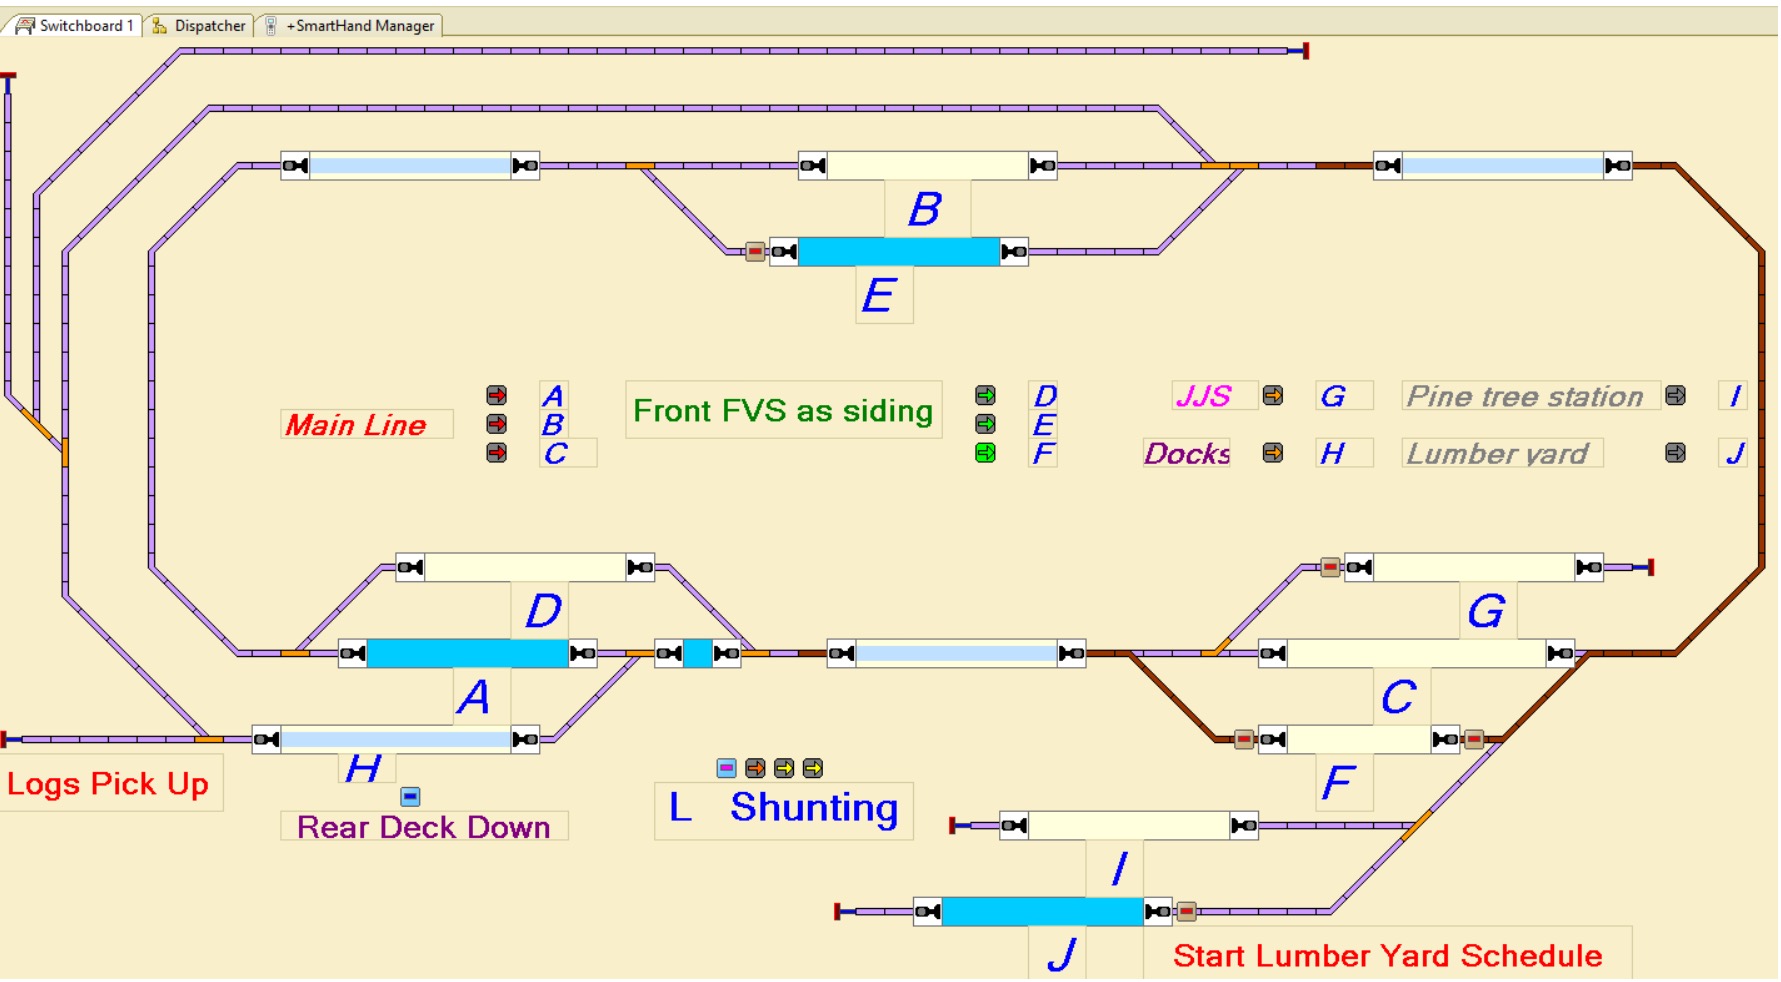
Here is an example- I typed keyboard F as the centre section of the route.
When shunting, I have a number of single routes that are enabled with just keystroke
Extending a model railway especially when you are trying to keep the overall footprint to a mimium requires careful planning and thought. This swing up flap enables me to roll out the model railway, swing up the flap and enjoy extra functionality in the operation of the railway. The closed down flap footprint only adds approximately 12mm to the width of the layout.
Swing up flap in the closed position. The blue foam is to protect the wall from becoming marked and to provide a safety barrier for the locos and trains.Swing up flap in up positionSwing up flap under frame – aluminum hollow tube.
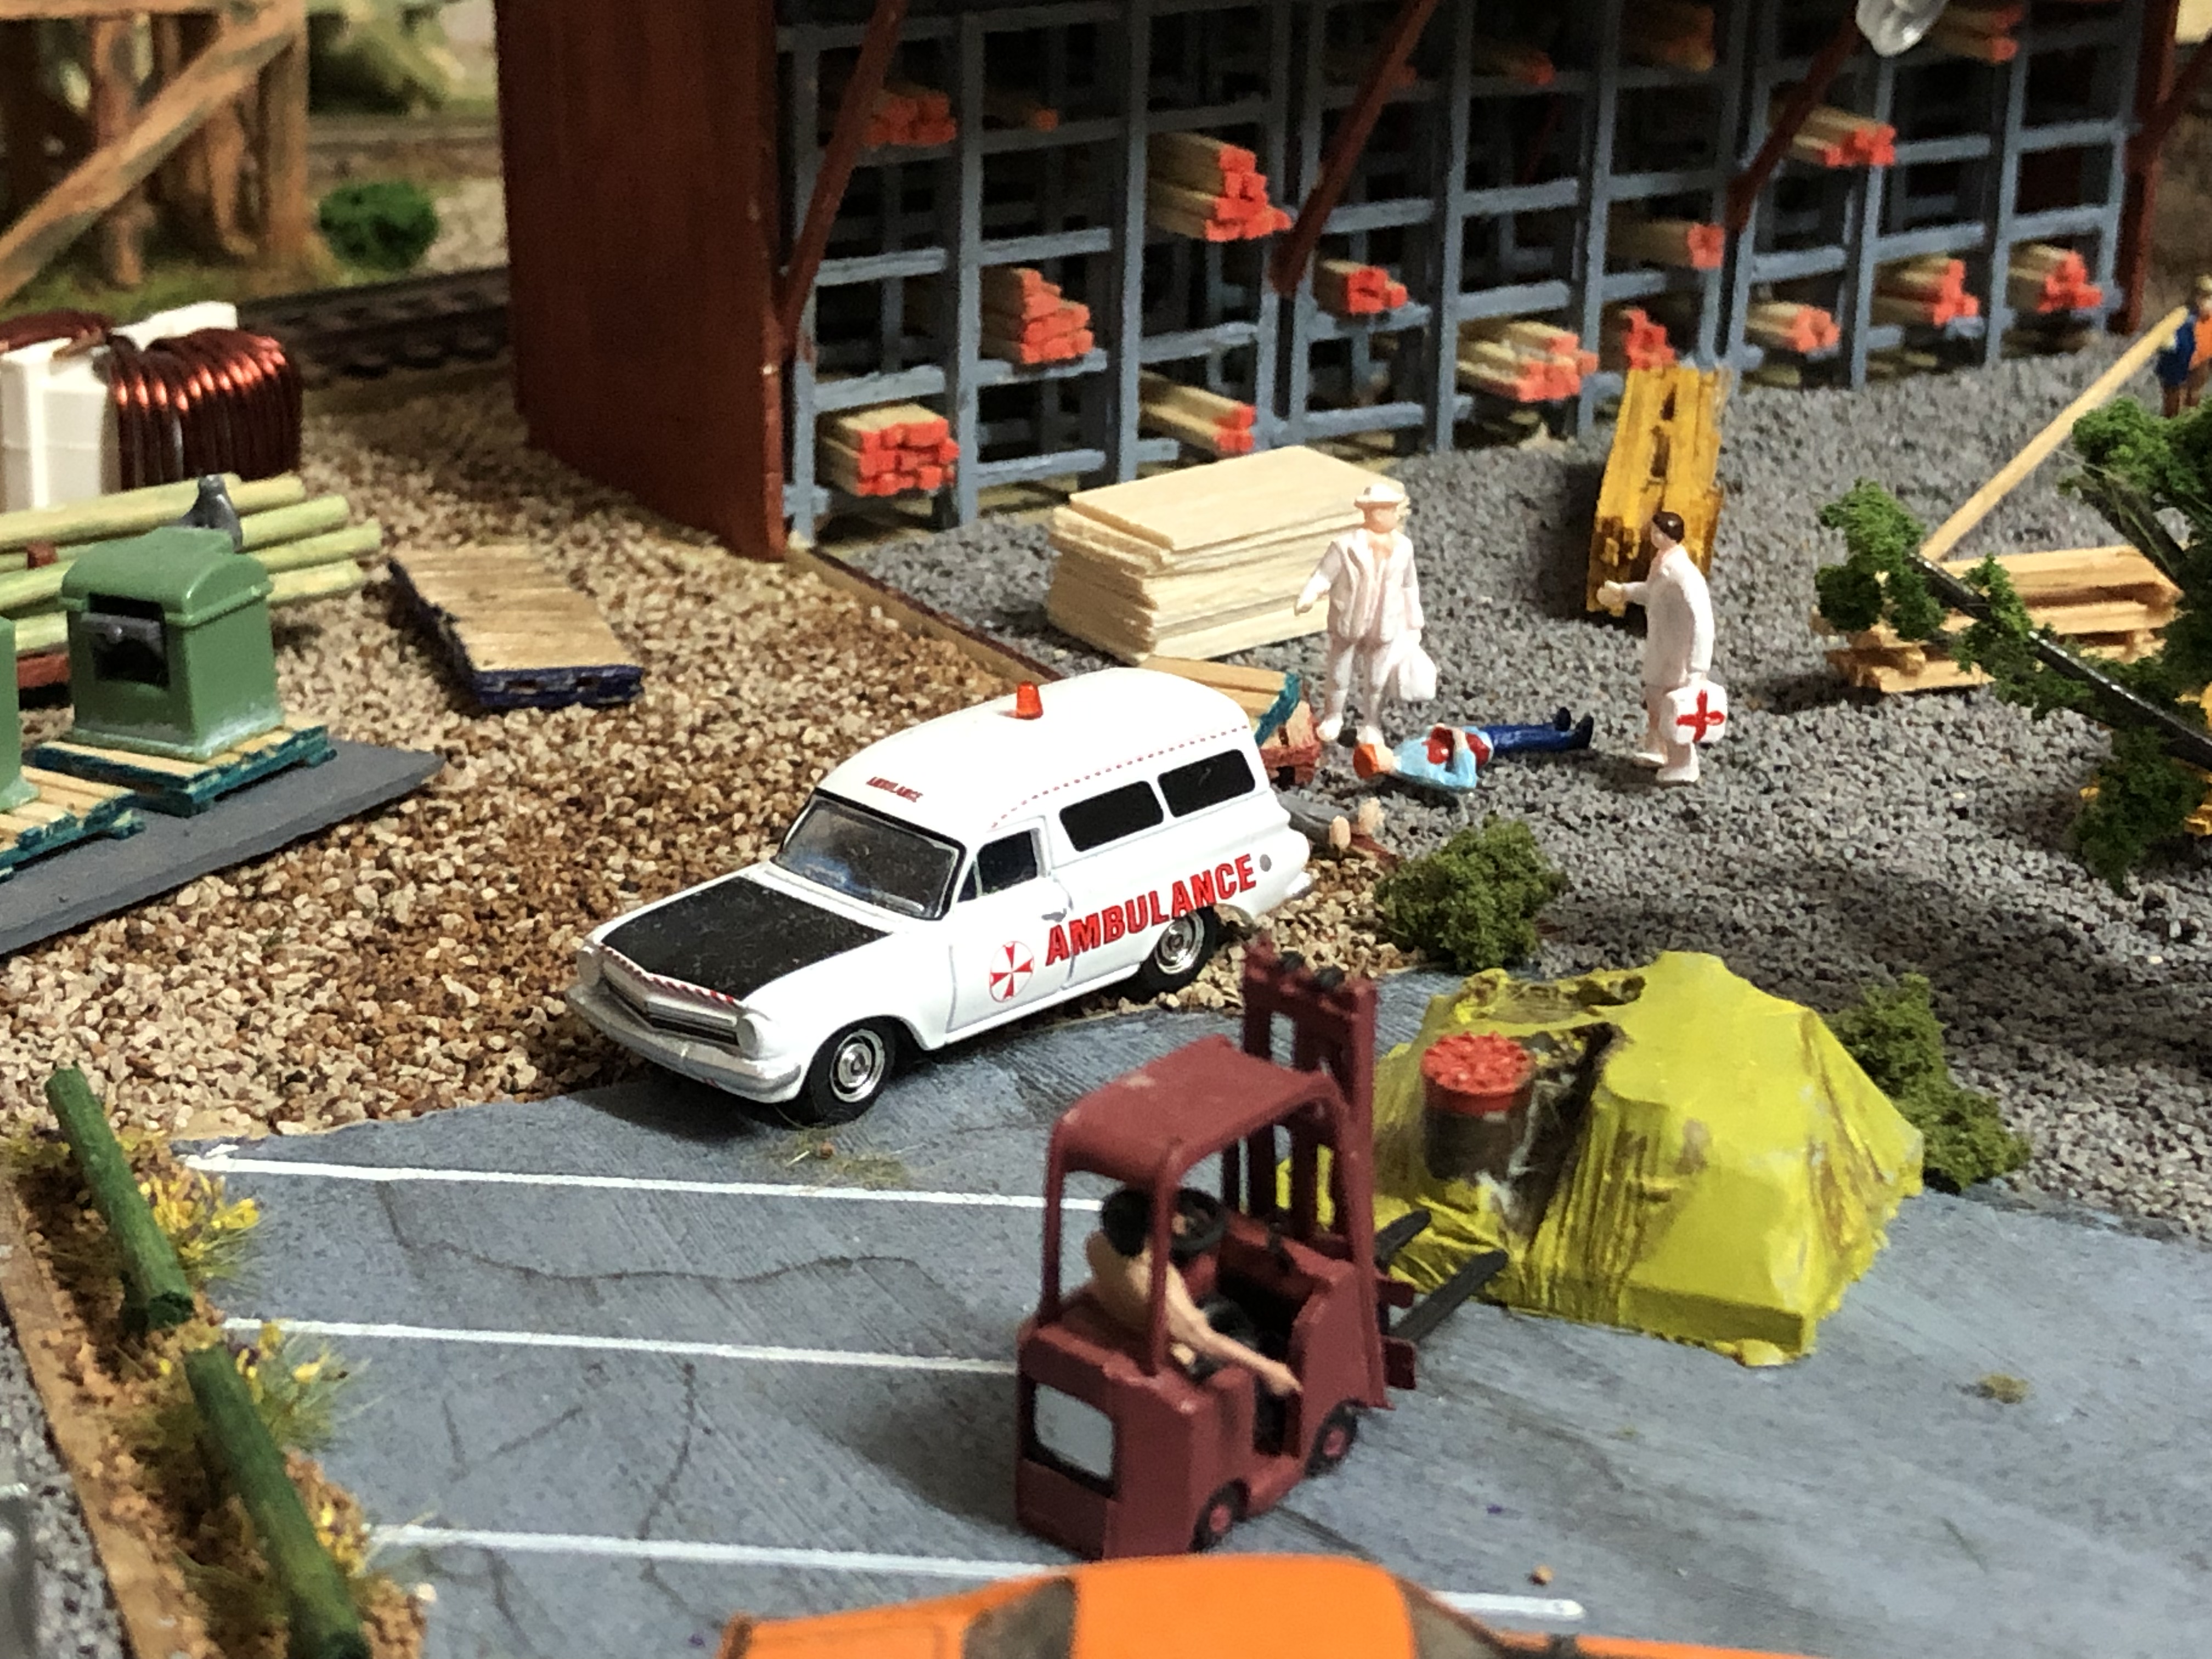
Having somewhere for the trains to visit adds something extra into the operation of the railway. These docks also add another scene and a small fiddle yard. This fiddle yard is to be continued behind the model yard on a swing up bench/ table.
Harbour extension with cut out for a boatGeneral Docks layout, the scenery still needs to be undertaken.